Game Art Blog

Game Art Blog
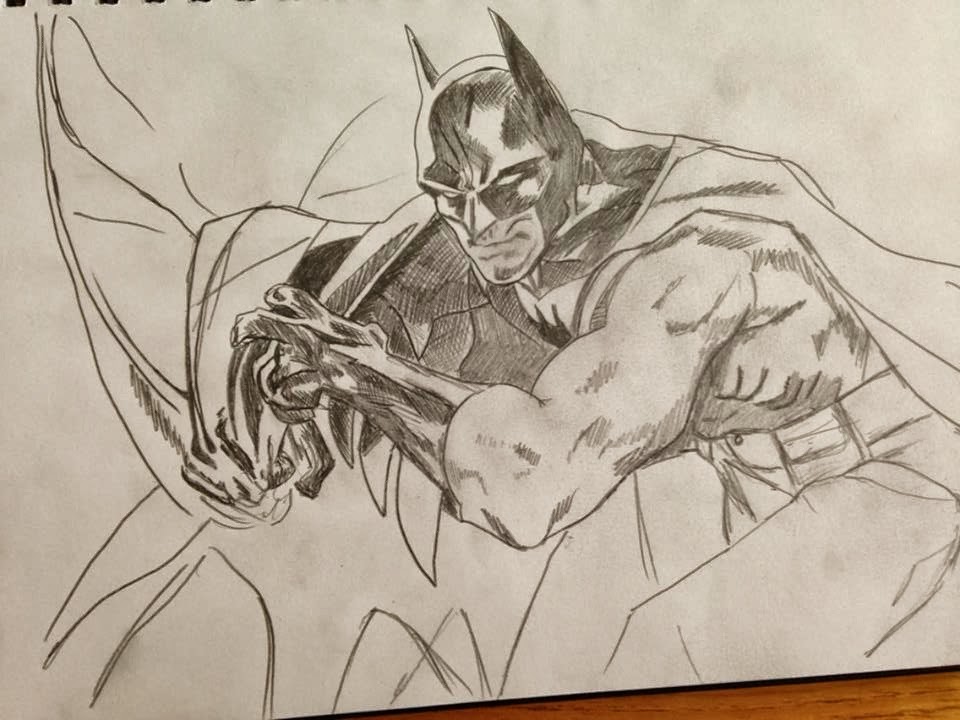
batman sketch

Wednesday, 18 December 2013

3D Car Model - Future Car

To start my Future car I had to get some ideas and research  future cars, I found a few films that had really good concepts of what future cars would look like, I got some really good ideas from films like Total Recall, iRobot and minority report.
As my model car was an Audi I used the irobot Audi for my main design, getting rid of the wheels and having the car hovering. I also took the style from that car too but changed it to my own ideas. 

 I began Drawing out some blueprints for my future car by using the original Audi r8 blueprints, as i was designing loads of ideas came to me so i joted down loads of notes as I was designing. Below are my rough blueprints.


The cars shape didnt change to much but i made the car alot thicker and shorter to give it that future look, also made the car more aerodynamic for flying which also helps make the car look futuristic. I got the style of the hover devices from iRobot but i changed them to a rounded triangle shape and detached them so they can rock to give extra stability. I made the side panel into wings for when its flying and there are no exhaust but there are thrusters for the extra boost.  Another little change is the Audi logo, I just made the circles more triangular.

I then made these blueprints more simpler. (BELOW)


Looks alot more futuristic now.. These blueprints are not perfect but they will help me alot when I have to model it later.
I wanted to research into how the car would hover and fly and its purpose so i came up with different modes for the car.


The New Audi Hover Car


Specifications:

Manufacturer: AcGameart
Production: December 6th 2088
Designer: Alex Curtis
Class: Hover Car
Body Style: 2 door coupé
Engine: Electric / Fuel Cells
Transmission: Automatic/Autopilot
: Manual- 12 speed

Dimensions:

Length: 4,508 mm (177.4in)
Width: 2,000mm (78.7in)
Height: 1,150mm (61in)


Modes:

Cruise Mode:
Cruise mode is the slowest mode and it is used for cruising around heavily populated areas as it is the safest way to travel, it is very stable and is driven is fully automatic and is set to autopilot as default. Cruise mode uses hardly any energy compared to the other modes. It only uses electric energy, not fuel cells, the hover wheels use mainly low air thrusters to hover.
Speed: 0-50 mph

Manual Mode:
In manual mode the autopilot is not set in default, this mode is used for higher altitudes and can reach faster speeds around urban and rural areas. Even at higher altitudes and faster speeds the vehicle is still very stable but uses a lot more energy for the engine to power the thrusters and auto – stability system, Active Power Stabilizer Suspension System
(the hover wheels auto adjust for stability) This mode uses electric energy and fuel cells. Manual mode is used to reach the high altitude routes and skyscraper parking.
Speed: 50-150 mph

Flight Mode:
Flight mode is the least safest mode and is totally forbidden in heavy populated areas like large cities. This mode is the least stable mode, when flight mode is activated wings protrude out the side of the vehicle that gives extra stability and two additional thrusters for extreme speeds. Also once activated the seats are automatically adjusted to tilt forward so the driver is sat like on The vehicle can't stay in flight mode for long as it uses so much energy with the two additional thrusters and the default thrusters which can reach full power.
Speed: 150 – 400 mph

I then thought maybe the blueprints wasn't enough to show my design so i decided to draw a digital drawing of the car to get a different perspective.
 
Then the modelling begins..

It was difficult at first, trying to edit the model i had already created but then things started to fall into place. here is the finished model.

I moved straight onto the texturing and couldn't decide what colours to make it so i made a few with different textures etc.. So thank you again for reading and supporting my blog, Here is my finished renders of the new HOVER CAR!!!!! 


Tuesday, 3 December 2013

3D Car Model - Finishing off and Texturing

Welcome back! .. Again in the past week I have made alot of progress on my car, in fact I have finished it. Once I Perfected the main body once it had the symmetry modifier on i converted it to editable poly and made it as one so I could then weld the middle of the car together. (BELOW)
Also I experimented with the windows here by bridging the top and bottom together and capping the ends then smoothing the polys.
Once the main body was complete I could work on the doors and the side panels. The geometry of the door and side panels were already there but i had to cut of the door shape and detach it as a separate object to get the markings around the door, same with the side panels.(BELOW)
As you can see the door(RED) and the side panel(BLUE) are now separate objects. this is so I can get the markings for each of them.
The car is turbo smoothed in this picture.
I then moved onto the other small details like the spoiler insertion and the lights.
for the headlights i struggled to get it right but after a few attempts I made this (ABOVE) its very simple the LED outer is just a tube and the other lights are spheres with tubes around them then adjusted the size and shape. this picture was taken after I textured the car, this is why it looks like glass. 

TEXTURING!! 
Texturing the car was so much easier than texturing my previous project, 3D model room as all the textures are already on the program in the material editor , like rubber for the tyres and glass, thick and thin, for the windows, it even has car paint option. I decided to make my car the classic white and the wheels chrome. the windows are heavily tinted of course because I didn't model the interior. for the grills I created a plane to fit in behind then applied a grill bitmap onto it to make it look more like a grill. 
After I textured the car and i was happy with them it was time to add an environment texture to the render. To do this you simply input a texture onto the environment but the texture has to be a HDR, this basically means the picture has to be panoramic. To add more effect to my car i created a sun light source to give the shine and reflection on my car. Enough of me boring you .. take a look at my final renders.. 


Thank you again for reading and supporting my blog... this project still isn't over though.. I have already planned and started to model my futurist version of this car so stay tuned to see my progress for that 

Saturday, 23 November 2013

3D Model Car - Symmetry and Body

This week I've made alot of progress on my car body, getting the side panels finished and half the roof. I cloned the polys around the window blueprints and the lights. (BELOW)
As you can see there are two side of my car with a slight gap in the middle, I used a modifier called symmetry which mirrors the object and any changes you make to that object will change on the other side too, so this saves alot of time. So basically you only need to make half the car. I had some problems with the scoop on the sides, trying to get that indent on the side. It still is causing problems when I turbo smooth the car. The picture above is turbo smoothed. 
I then started concentrating on the details of the body like the bonnet groves and along the side of the car and I gave the car thickness as you can see in the wheel arch.

I then decided to start on the wheels. I did this by creating a cylinder over the wheel on the left blueprint, I used the inset tool to create the tires and the alloys. 
I then extruded every other poly to create the effect you can see in the above picture. I moved on to the windows (ABOVE) originally I selected the rim of the window and used the cap tool but this didn't work as the window wasn't smooth and didn't fit right so after some time I bridged the top edges and bottom edges and capped the two ends. This worked really well once i added a smooth group to them and detached the windows and changed the colour to black. 
After looking at the wheels for a long time I wasn't happy with them and was thinking of how I would do the tires so I decided to start the wheels again and this is how they looked (BELOW)
 I modelled he Tyre and the tread separately to the alloy which works alot better for when I have to texture them both later. This is a really high poly model, But as this car model is just for a model and not for an actual game I can get away with it.
I made the front and back grills next, I made a plane to place at the back to texture the grill later then I modelled the grill across the front of the plane.(BELOW)

After this picture I made the tyres thicker and quickly made the Audi logo which took  two minutes. All i did was create a thin tube and cloned it 3 times then attached them. 
Also I made the wing mirrors the same way as I made the car body, edge cloning, then i extruded the flat side for the mirror later. 
I have almost finished the full body with the exhaust and i am going to start the headlights soon after I have worked out how to model them.
Thank you for viewing my blog.. stay tuned for next week ! 

Wednesday, 6 November 2013

3D Model Car - Poly by Poly

Ive started my next project which is modelling a car and then making the car I have modelled into a futuristic car which is going to be hard but very fun. So we began by getting taught certain techniques which you need to know to model a car, It literally is polygon by polygon, moving every edge and vert into place using blueprints which have been put onto planes on 3ds Max. To practise these techniques we were given blueprints of an old mini cooper and of course we had to start modelling it, not the whole car just enough to feel confident to start my own car. This is how it went (BELOW)

I think for a first attempt it looks really good, and I was ready to start my own car. The car I choose was an audi R8, I chose this car because not only is it one of my favorite cars ever it is also a really good design to convert into a futuristic design.


I only imported the 3rd picture because of its awesomeness. So I got started by researching the Audi r8, getting loads of pictures for referances and ofcourse blueprints. I also started to look at futuristic vehiocles to get n idea of what to do for mine and ofcourse the first thing that popped up was the Audi in irobot (BELOW), this is the kind of design I am going for with extra cool things ofcourse.
First thing first I had to import the blueprints onto 3dsMax, I did this using photoshop to seperate the blueprint image which I got from Google (BELOW)
Once seperate the the image sizes were adjusted and all the pictures were all equal I imported the pictures in 3dsMax onto 4 planes (BELOW)
As you can see on this image I have 4 different view points open, the top, front, left side and the perspective views, These are very important on modelling a car as you have to use all the view points all the time to get the correct dimesions and shape. It is very difficult to begin with but like in all thimgs after a while you get a hang of it.
This is my model so far, getting the shape nicely and its starting to look like an audi r8.
Next update will be next week.. Thank you for reading.